

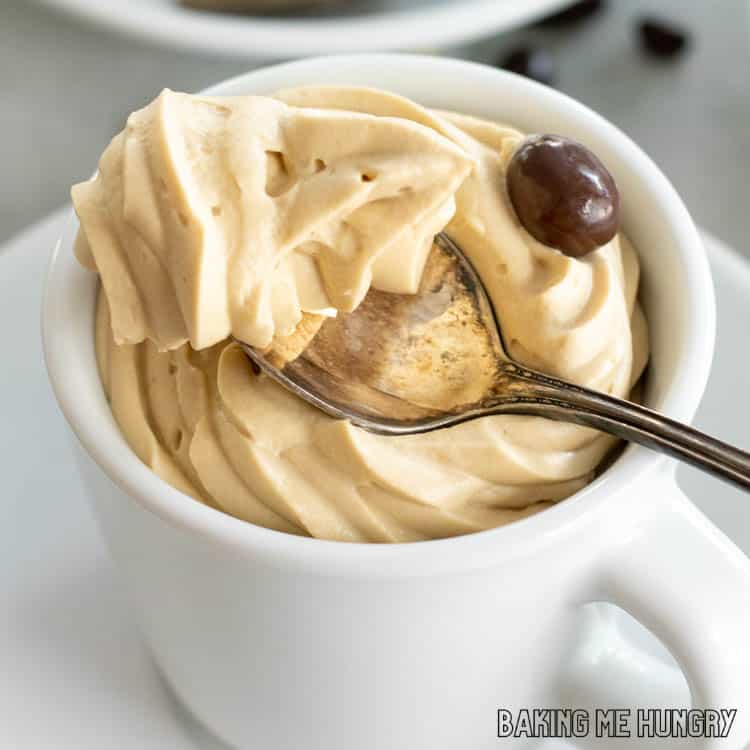
With just four simple ingredients, this easy Coffee Mousse Recipe is creamy, fluffy, and ready in only 10 minutes. It's perfect for coffee lovers and looks fancy enough for a special occasion or dinner party without being difficult to make.
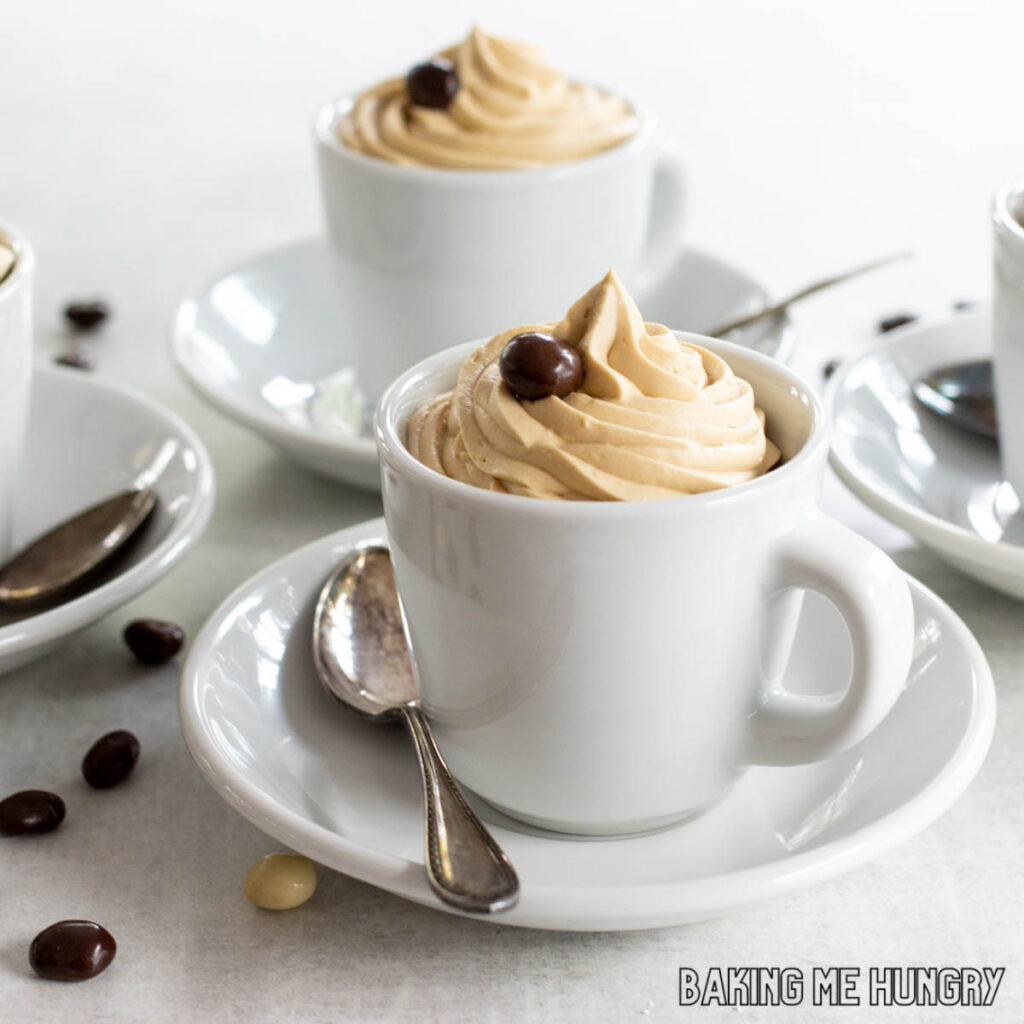
I'm always a fan of desserts that look like they took a lot more work than they actually did, and this is definitely one of them. The instant coffee gives the mousse plenty of coffee flavor, while cream cheese and whipped cream give it that light, creamy texture.
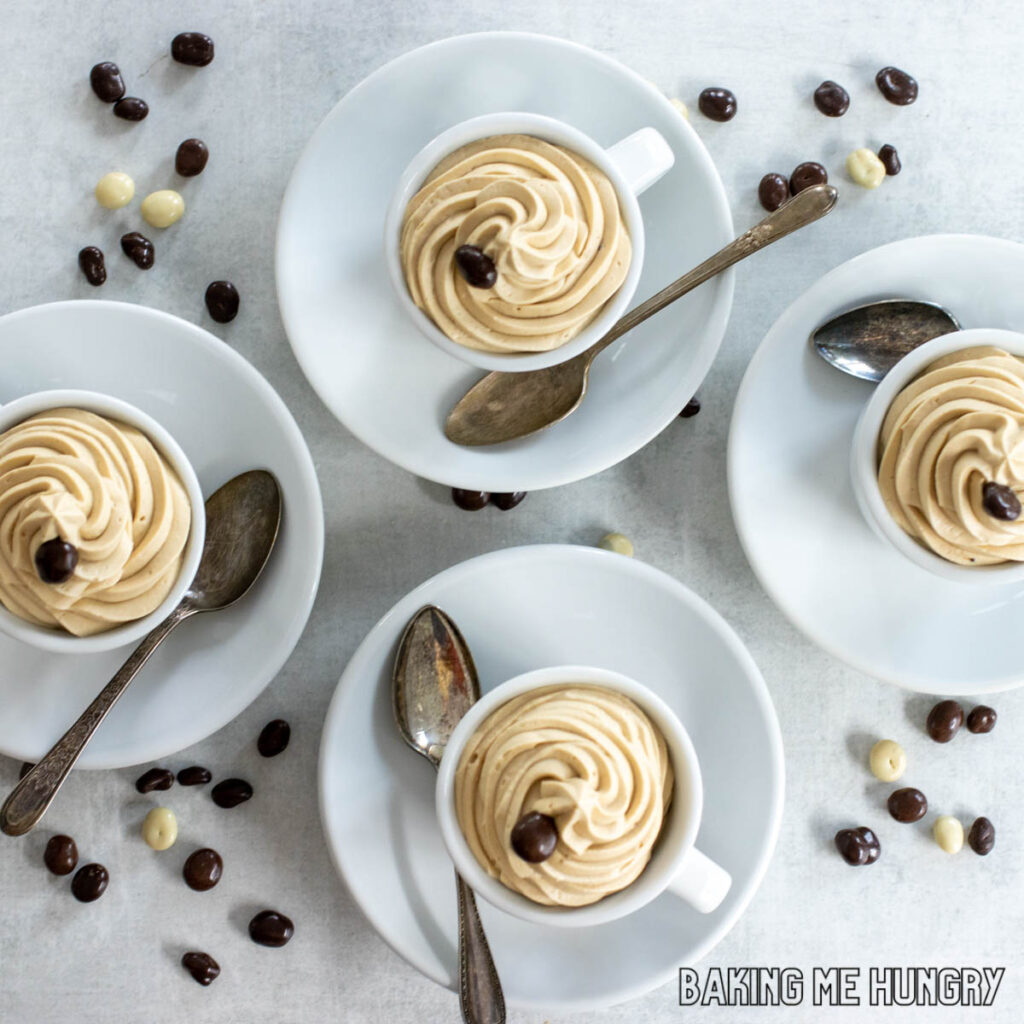
You can spoon the mousse into small dessert bowls, pipe it into pretty glasses, or even serve it in little coffee cups. Add a chocolate-covered coffee bean on top, and you're done.
Be sure to check out my Oreo Iced Coffee Recipe for another fun coffee flavor. We love coffee around here, so you'll also find Coffee Eclairs and Coffee Cookies.
Ingredients
You only need four ingredients for this easy no-bake dessert.
- Heavy Whipping Cream - Whipping the heavy cream is what gives the mousse its light and fluffy texture.
- Cream Cheese - Adds richness and helps the mousse hold its shape.
- Powdered Sugar - Sweetens the mousse without giving it a grainy texture.
- Instant Coffee Granules - Give the mousse its coffee flavor without adding extra liquid.
See recipe card for quantities.
How to Make Coffee Mousse
I decided to keep this an easy no-cook mousse recipe. Traditional mousse recipes can use egg whites or egg yolks, but I wanted something simpler that I could have ready in about 10 minutes.
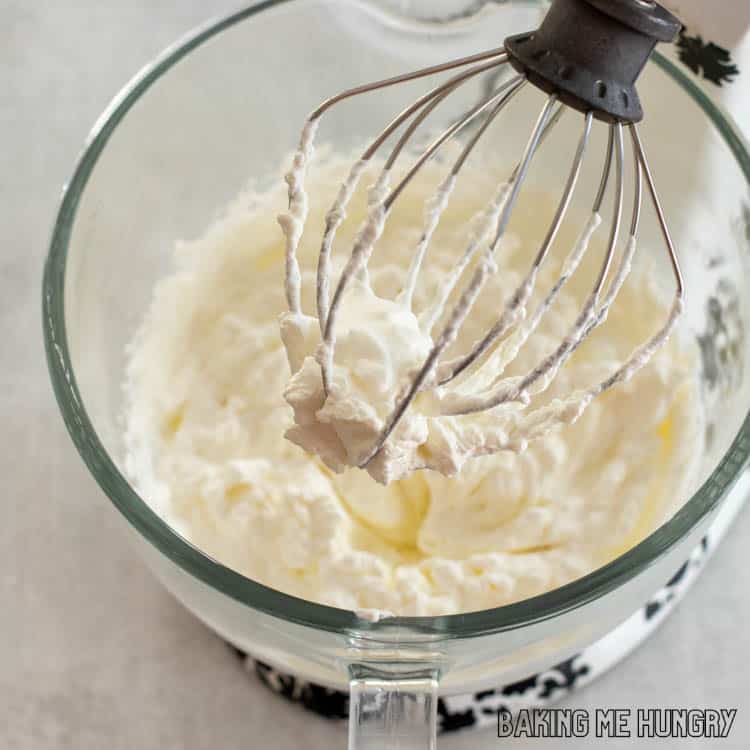
Step One: Add the heavy cream to the bowl of a stand mixer and whip until stiff peaks form. Alternative, you can make it in a large bowl with an electric mixer. Transfer the whipped cream to a separate bowl.
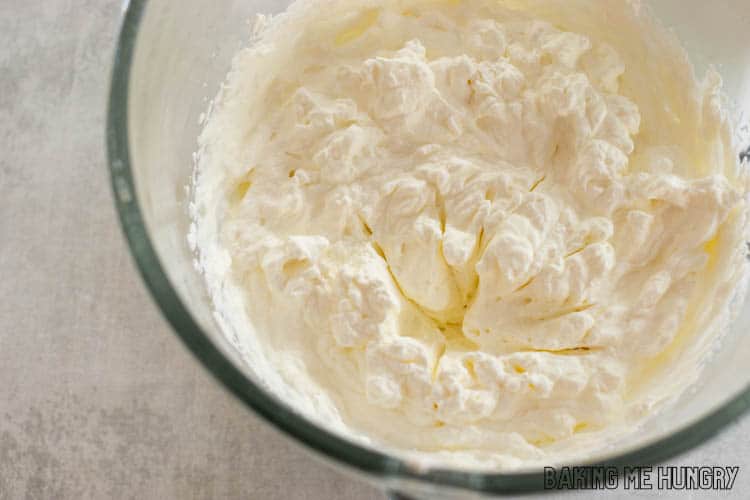
Step Two: Add the cream cheese to the mixer bowl and beat until smooth. Add the powdered sugar and continue mixing until light and fluffy.
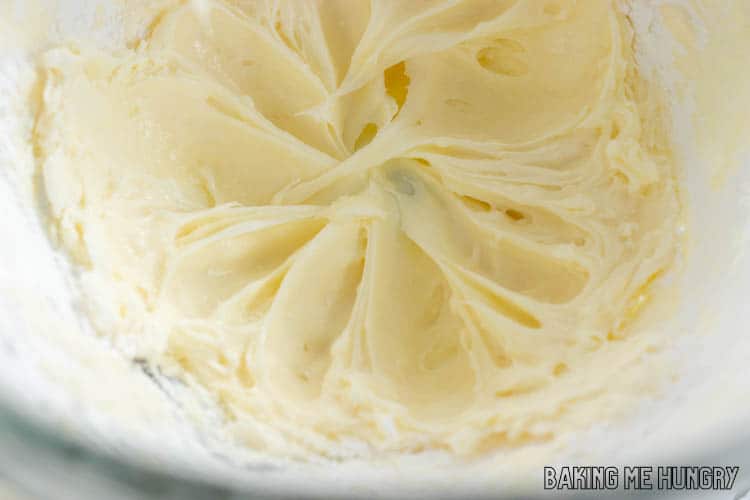
Mix in the instant coffee granules.
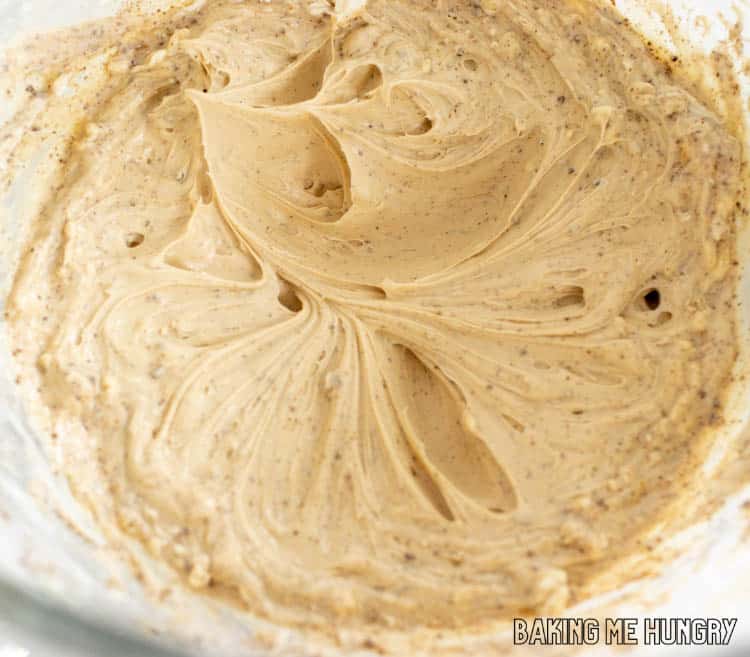
Step Three: Fold about one-third of the whipped cream into the coffee and cream cheese mixture.
Once combined, gently fold in the remaining whipped cream.
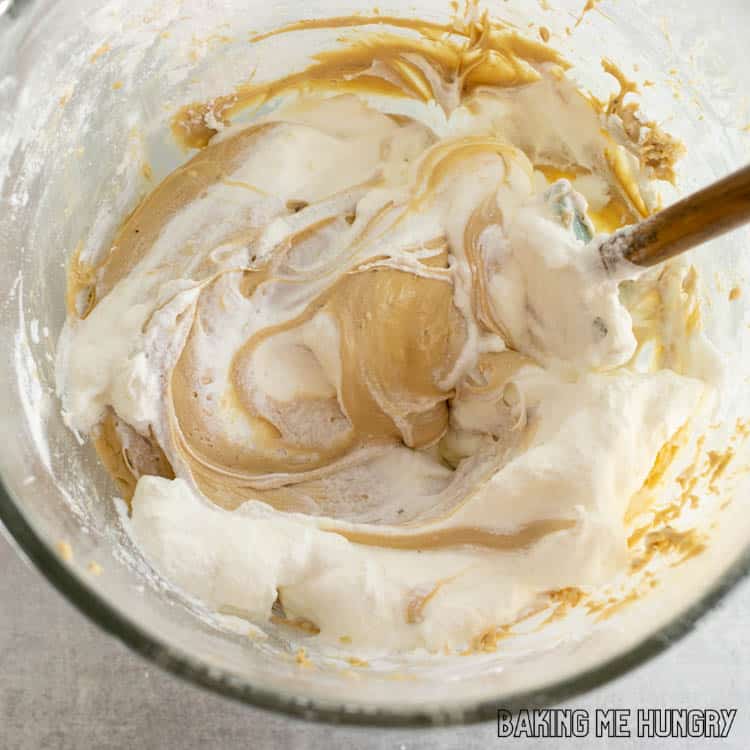
The mousse should be light, fluffy, and uniform in color.
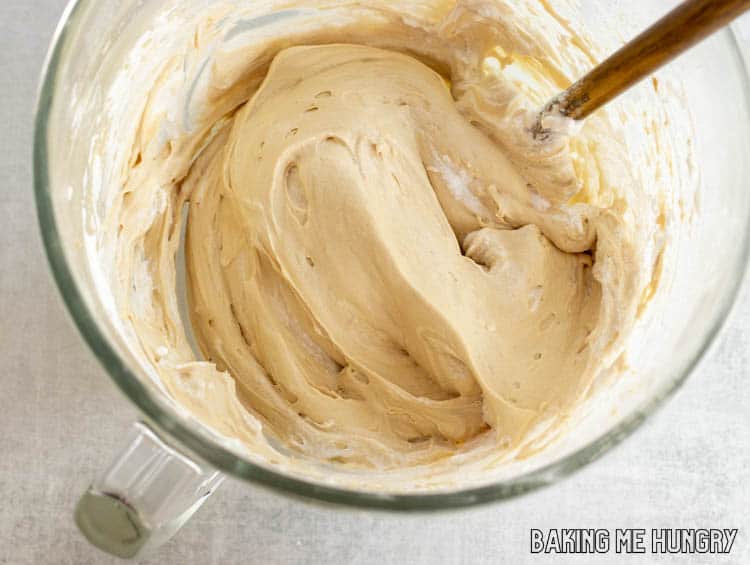
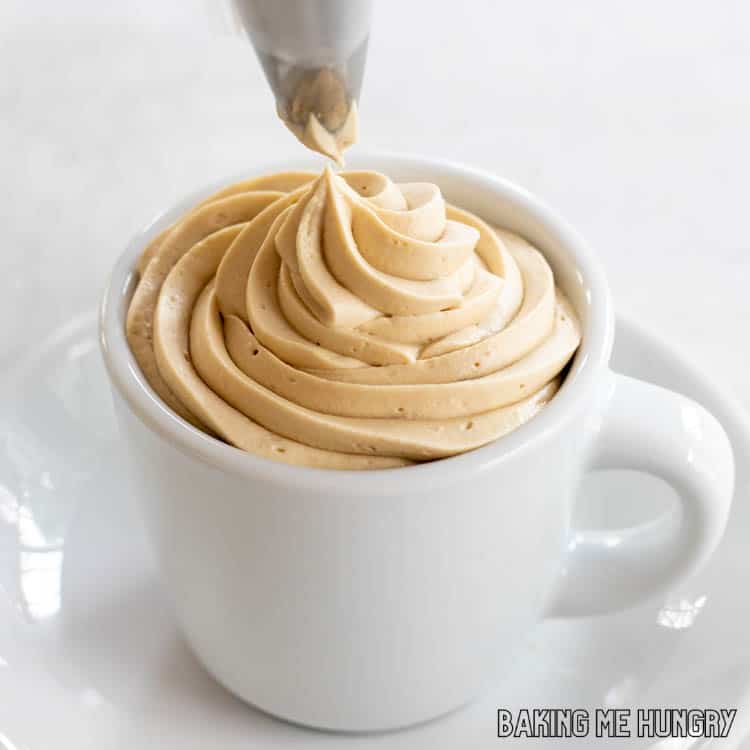
Step Four: Spoon the mousse into small serving bowls or pipe it into glasses using a large piping bag with a star tip. Add your favorite toppings and serve.
Top Tip
Don't stir the whipped cream aggressively into the cream cheese mixture. Gently folding it in helps preserve all that air you just whipped into the cream and gives the coffee mousse its fluffy texture.
Variations
- Espresso - Swap the instant coffee for espresso powder for a stronger coffee flavor. Since espresso powder can be more intense, I would start with a little less and adjust to taste.
- Vanilla - Add a splash of vanilla extract. Vanilla and coffee are always good together.
- Chocolate - Add cooled melted chocolate for a mocha mousse. Just make sure the chocolate isn't hot when you add it.
- Decaf - Decaf instant coffee works just as well if you're serving this later in the evening.
If you love creamy coffee desserts, try my Espresso Panna Cotta next.
Serving Ideas
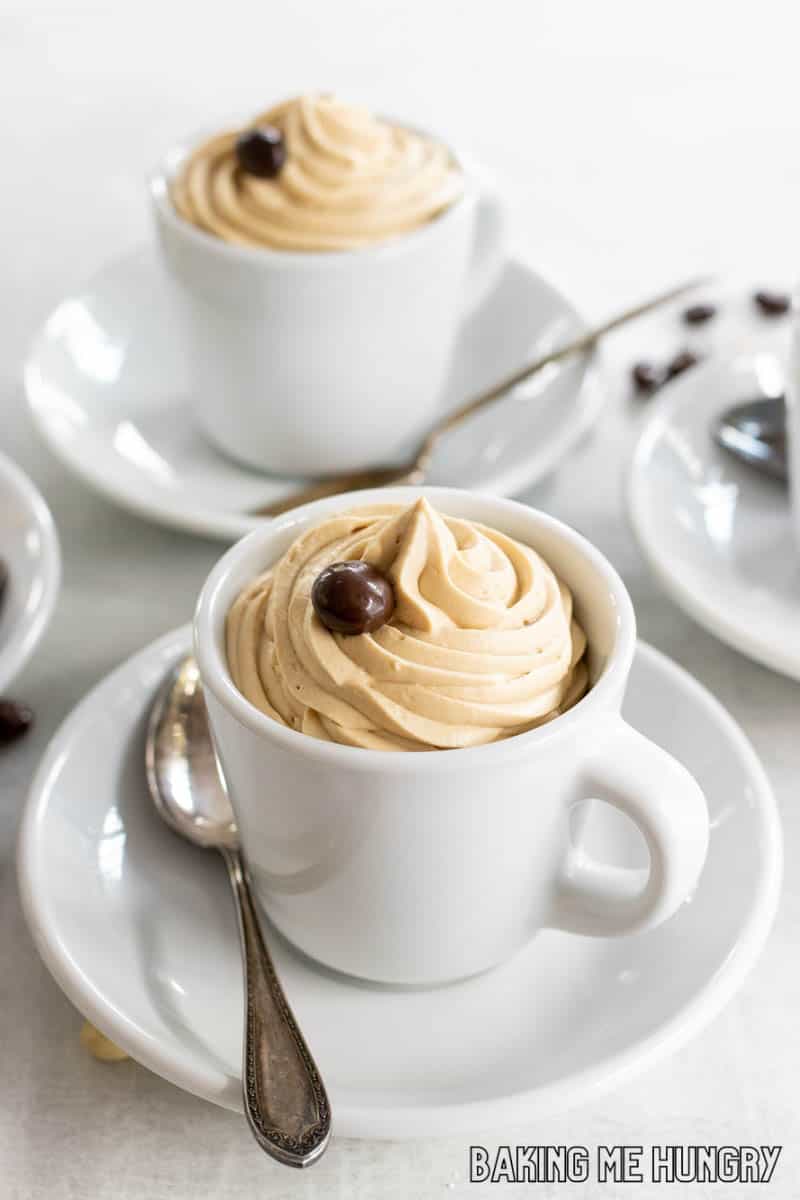
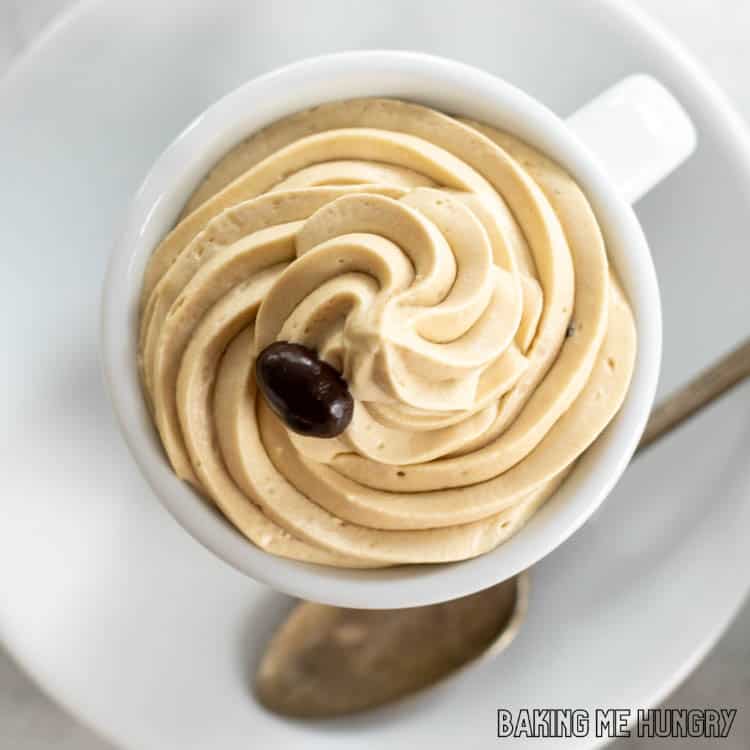
Chocolate and coffee are an easy combination, so I love topping these with chocolate shavings or a chocolate-covered coffee bean.
You could also add whipped cream, cocoa powder, mini chocolate chips, or a drizzle of chocolate sauce.
And don't limit this to dessert cups. Coffee mousse makes a great cake or cupcake filling, too. I use it in my Cappuccino Cake Recipe, and it would also be delicious in these Espresso Cupcakes.
Storage
Keep coffee mousse covered in the fridge until you're ready to serve it. You can make it up to 24 hours ahead, which makes it a great option when you're entertaining.
Leftovers can be covered with plastic wrap and refrigerated for a few days, although the mousse is at its fluffiest when freshly made.
Common Questions
Can I make coffee mousse with decaf coffee?
Absolutely. Just use decaf instant coffee granules in place of regular. You'll still get the coffee flavor without as much caffeine, which is especially nice if you're serving this after dinner.
Can I make coffee mousse ahead of time?
Yes. You can make it up to 24 hours ahead and keep it covered in the refrigerator. If I'm serving it for company, I like to pipe it into the individual serving dishes ahead of time so dessert is completely ready to go.
What can I put on top of coffee mousse?
Chocolate-covered coffee beans are one of my favorites because they're simple and look pretty. Dark chocolate shavings, cocoa powder, whipped cream, chocolate chips, or a drizzle of chocolate sauce are all good choices.
Why isn't my coffee mousse fluffy?
Make sure the heavy cream reaches stiff peaks before you combine it with the other ingredients. Then gently fold the whipped cream into the cream cheese mixture rather than beating or vigorously stirring it. You don't want to knock out all the air that makes the mousse fluffy.
📖 Recipe
Coffee Mousse Recipe
Ingredients
- 1 cup heavy cream
- 1 cup cream cheese
- 2 cups powdered sugar
- 2 tablespoon instant coffee granules
Instructions
- Whip the heavy cream until stiff peaks form. Transfer to a separate bowl.
- Whip the cream cheese until softened. Add powdered sugar and mix until light and fluffy. Mix in the instant coffee until completely dissolved and well incorporated. Add ⅓ of the whipped cream and mix well.
- Slowly fold in the remaining whipped cream. Spoon or pipe into small serving bowls.
Notes
Nutrition
Like what you see? Follow us on Facebook and Instagram! Love this recipe? Leave a comment & a 5-star rating right here! Make sure you don’t miss new recipes by getting email updates!
Originally Published June 19, 2023. Revised and Republished August 18, 2026.


Candi😘 says
Just wondering... Does this recipe have a specific chill time?
Candi😘 says
Umm... I was just wondering... If I'm making 6 serves, how much would that make if I put it all in one big container instead of 6 individual cups? Like how many ml is 6 serves?
Taryn Scarfone says
The full recipe should make approximately 4–5 cups (950–1,180 ml) of coffee mousse, depending on how much volume you get from whipping the cream. You can put all 6 servings into one large container instead of individual cups. I'd recommend using a container that holds at least 1.5 liters to leave plenty of room.
Candi😘 says
Thanks! 🥰
Suzy says
How far in advance can this be made before it starts breaking down?
Taryn says
3 days
Catherine says
Thankyou Taryn, I've just put mine in the fridge to chill but I can already tell they taste amazing ! I will use instant coffee powder next time as opposed to granules so that they dissolve easier and quicker. Nevertheless they did in the end and I'm looking forward to serving and sharing them.
Bruce Allen King says
Well done and explained
Debbie says
Delicious! I halved the quantity of sugar, as it looked a lot when I measured it out, and it was still easily sweet enough.
Diane says
AHHH-mazing!! Rich with coffee flavor!!❤️☕️
Patricia says
Can you please give quantities in ingredients
Taryn says
Hi Patricia, the quantities are in the recipe card under the pictures. You can also just click 'jump to recipe' at the top of the page. I hope that helps 🙂
Tap says
Love it will be making it this week and I already have all the ingredients ♥️☕️
Liz says
I made this recipe twice so far . First time I didn’t mix it long enough for the coffee granules to dissolve. Unfortunately no one liked it nor I so I had to throw it all out . But a few months later I thought about this recipe and it sounded so good and I was dying to try it again . So earlier I looked up this recipe, which I saved and was determined to get it right . Says to mix well . I thought .. I’ll leave it in the stand up mixer for a while and let the mixer do it’s thing till the granules dissolve. Well hallelujah it worked . I did strain it to get out some left over that didn’t dissolve . So worth it by the way . I loved it . It was so delicious and heavenly. So glad I didn’t give upon this recipe. The only other thing I did different was I used 1 TBLS of instant coffee granules and 1 TBLS of espresso instant powder . I will make this again this way and will definitely Double this Recipe 😅😀
One Question though . When leaving it overnight in a bowl should I cover it ? Wasn't sure so I covered it in Reynolds’s wrap anyway . But I'am concerned the Compensation from it will leave it a little watery . Anyway …
Thank you for sharing this recipe
Taryn says
Hi Liz, you could cover it after it is chilled. That way you shouldn't get condensation and it won't absorb any fridge smells. I haven't noticed condensation myself when I've covered it.
Susan McAlpin says
I'm new here and kinda skittish about new to me ideas... Could this be used in between cake layers instead of a buttercream?
Taryn says
Yup! We did that in our cappuccino cake: https://bakingmehungry.com/cappuccino-cake-recipe/