


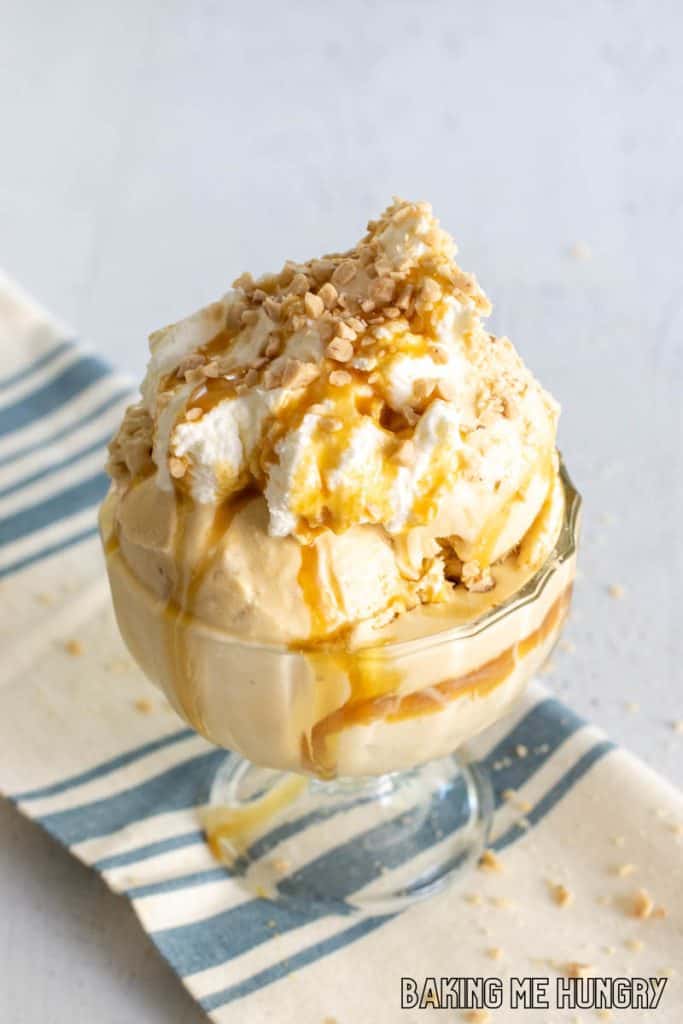
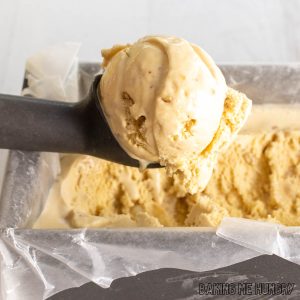
Caramel Crunch Ice Cream is a delicious homemade treat loaded with caramel flavor and plenty of crunchy toffee bits. It's the perfect indulgent dessert on a hot summer day and tastes great in a bowl or sugar cone. You'll be hooked after the first bite!
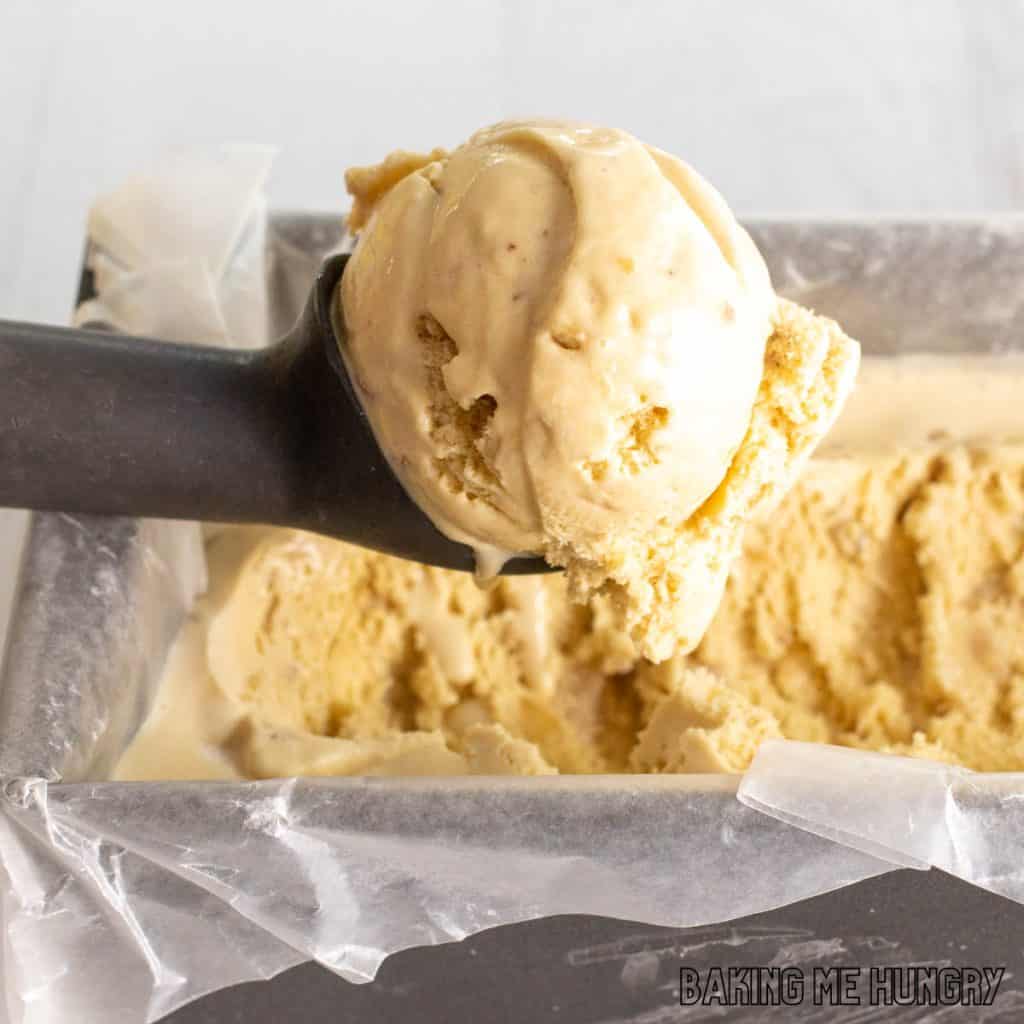
While you will need an ice cream machine for this recipe, the process couldn't be easier. With a few simple ingredients and some patience while the ice cream freezes, you'll be enjoying creamy homemade ice cream in no time.
The combination of brown sugar, caramel sauce, toasted almonds, and toffee gives this brown sugar caramel crunch ice cream so much flavor and texture. You get creamy ice cream along with little bits of crunch in every scoop.
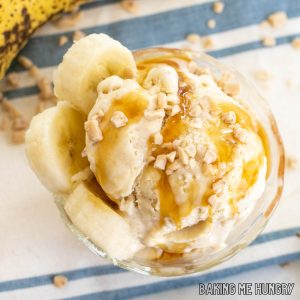
If you love this recipe, try my Banoffee Ice Cream next.
Before You Get Started
- Make sure your ice cream maker is ready to use. If your machine uses a freezer bowl, it will need to be completely frozen before you begin.
- Follow your ice cream maker's manufacturer's instructions for churning and maximum capacity.
- Have a freezer-safe, lidded container ready for storing the finished ice cream.
- Reserve some of the toffee bits and toasted almonds for toppings.
Ingredients
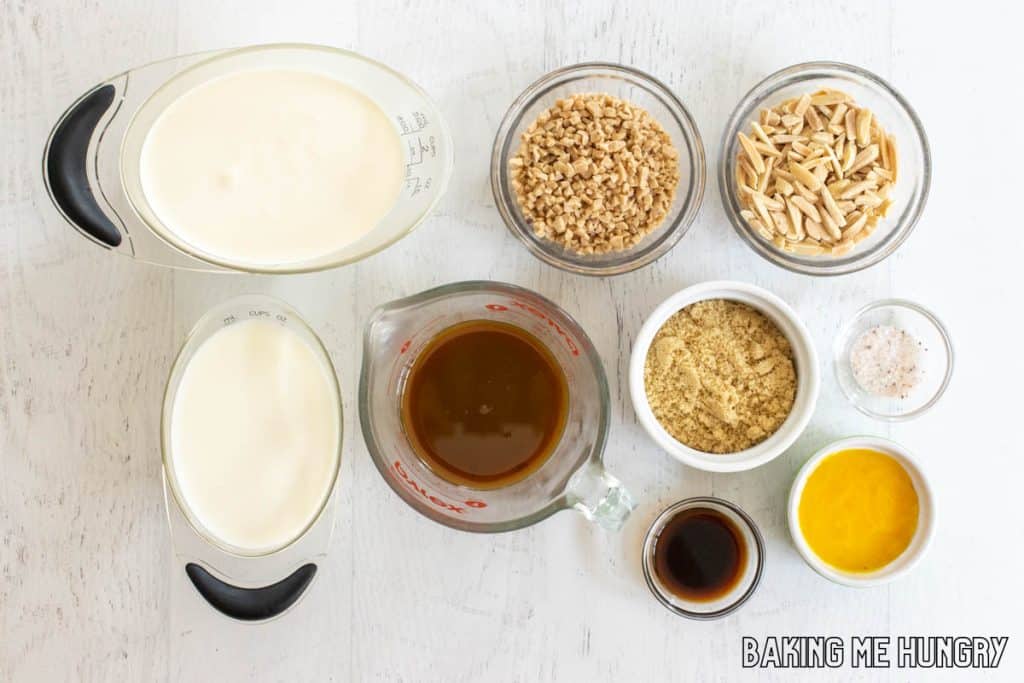
- Heavy cream - The fat content is needed to make the ice cream base.
- Whole milk - Adds texture.
- Caramel sauce - For more caramel flavor.
- Brown sugar - For sweetness.
- Egg yolks - Use the egg whites for another recipe!
- Caramel extract - For flavor.
- Vanilla extract - For flavor.
- Sea salt - Adds taste.
- Slivered almonds - These are toasted and a great mix in my opinion.
- Toffee bits - Add small bits of buttery crunch throughout the ice cream.
See recipe card for quantities.
How to Make Caramel Crunch Ice Cream
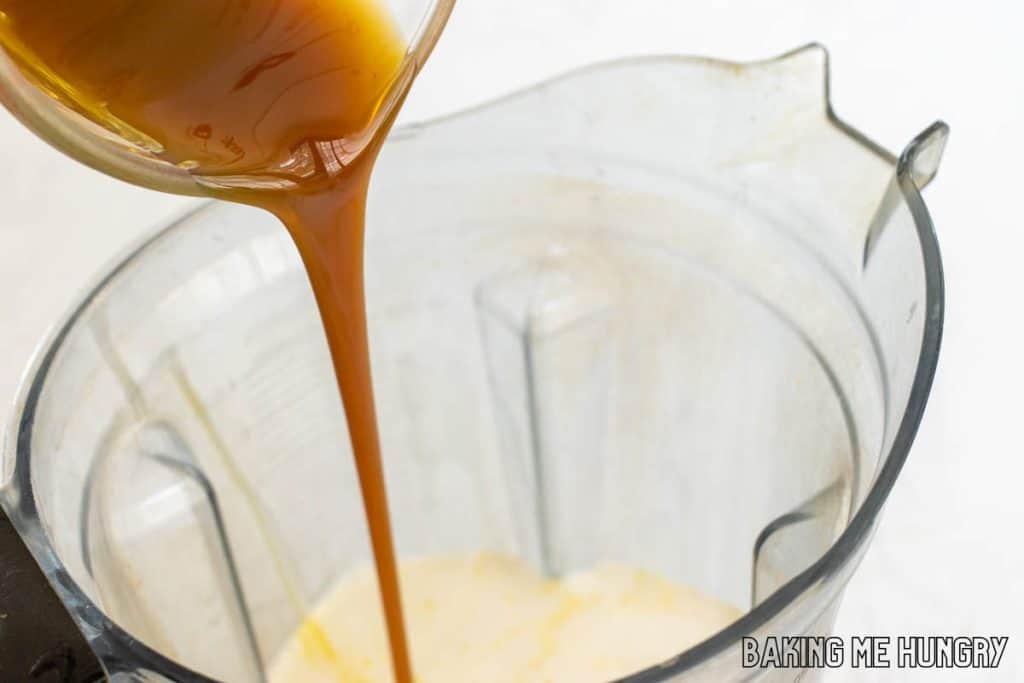
Step One: Add the ice cream ingredients (minus the mix-ins) into a blender.
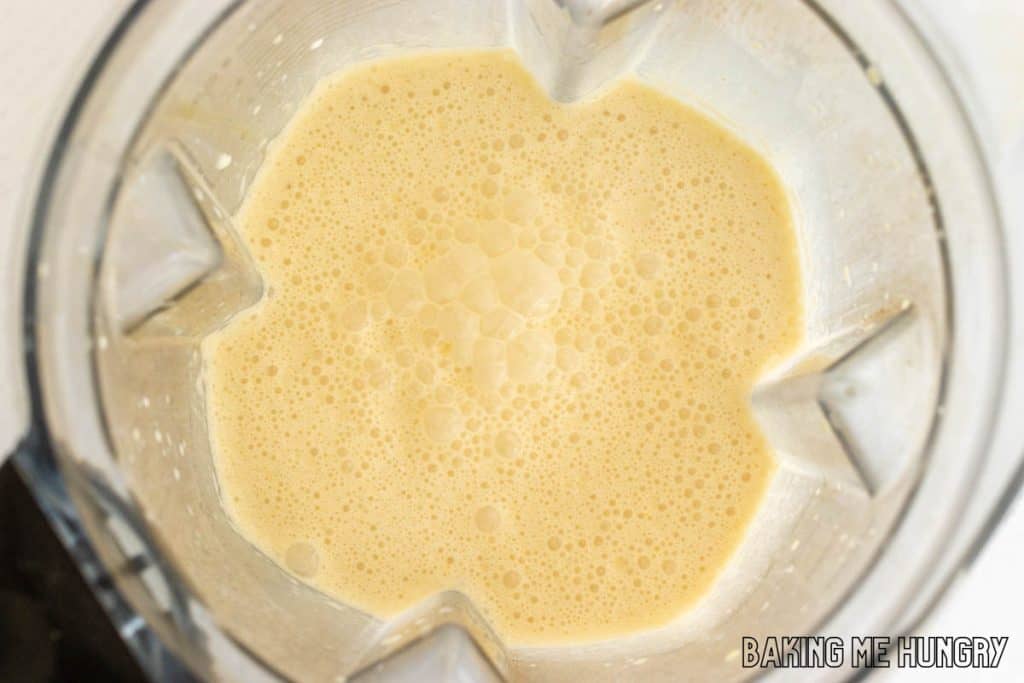
Step Two: Blend until completely smooth. A regular blender works well, or you can use a high-speed blender.
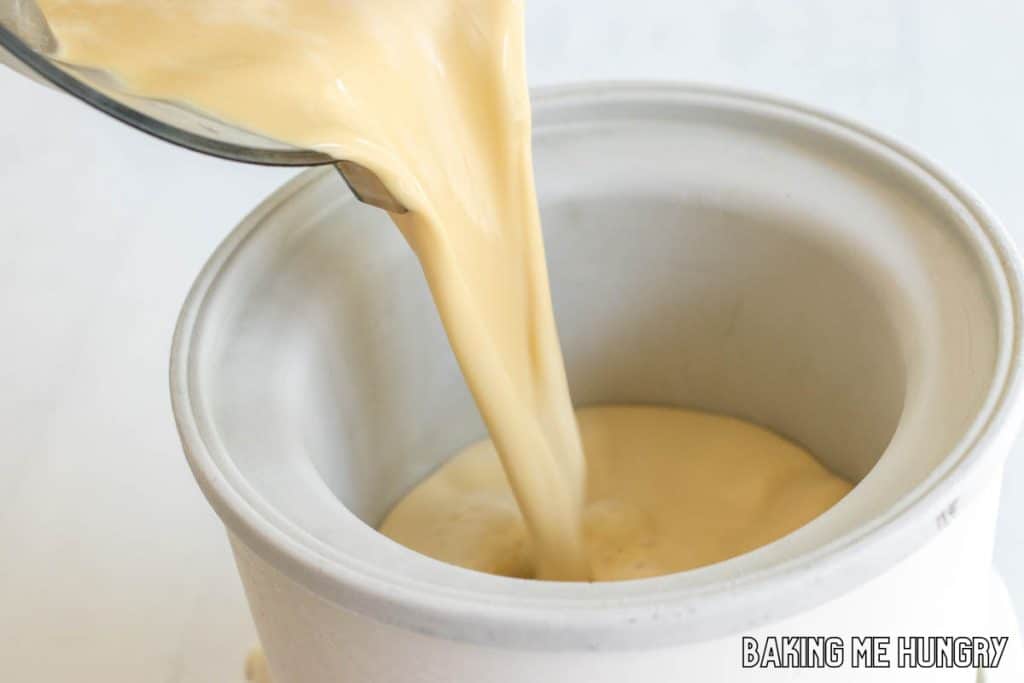
Step Three: Pour the mixture into an ice cream maker and freeze.
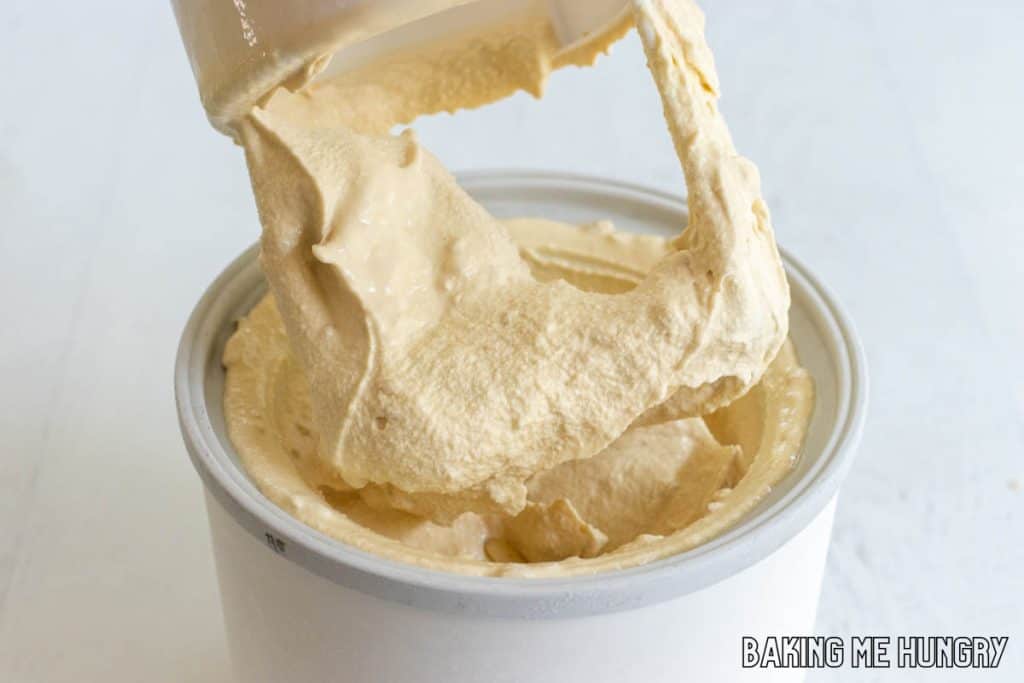
Step Four: Add the toasted almonds and toffee bits during the final 2 minutes of churning. Use a spatula to make sure any mix-ins are evenly distributed if needed.
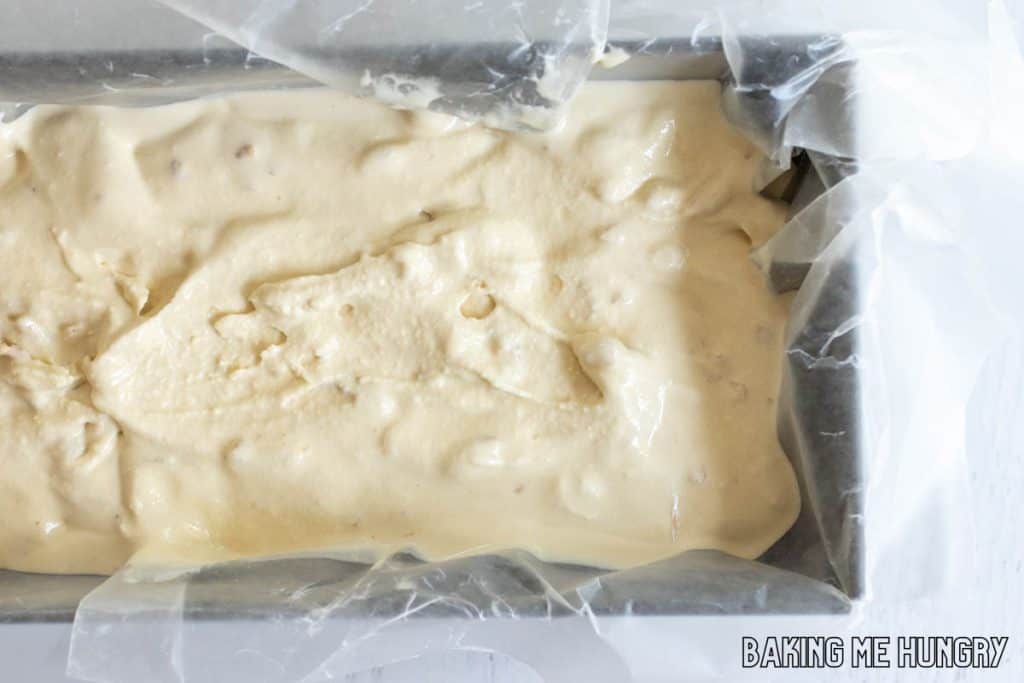
Step Five: Transfer the churned ice cream to a freezer-safe, lidded container. Sprinkle extra toffee bits or crushed caramel pieces on top if you'd like. Freeze until firm.
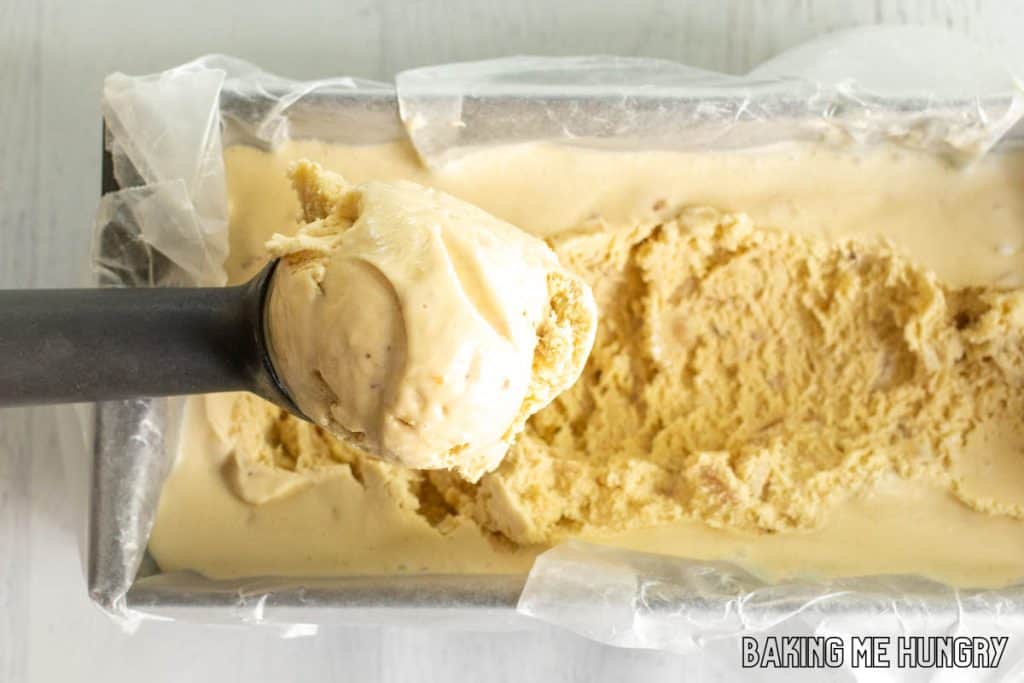
Step Six: Scoop, serve, and enjoy!
Top Tip
If you prefer not to use raw egg yolks, use pasteurized eggs or make a cooked custard base and heat it to 170°F. After that, chill completely in the fridge before churning according to the manufacturer’s instructions.
Also, don't add the crunchy mix-ins too early. Adding them during the last couple of minutes keeps them evenly distributed without breaking them into pieces that are too small.
Variations
- Chocolate caramel - Add cocoa powder to the base for chocolate ice cream with plenty of caramel flavor and crunchy toffee pieces.
- Extra caramel - Layer additional caramel sauce into the ice cream as you transfer it to the storage container for more caramel swirls.
- Extra crunch - Add more toasted almonds, toffee bits, or crushed caramel on top before serving.
- Salted caramel - Sprinkle a little flaky sea salt over each serving to play up the sweet and salty flavors.
- Peanut butter caramel - Swap the almonds for roasted peanuts and swirl in some peanut butter when transferring to the storage container.
- Nut-free - Just leave out the almonds.
See this 2 Ingredient Caramel Sauce, which would also be super delicious to add on top!
Equipment
To make this homemade ice cream, you'll need a blender or high-speed blender, ice cream maker, spatula, and freezer-safe lidded container.
If you're using a Cuisinart or another ice cream maker with a removable freezer bowl, make sure the bowl is completely frozen before you begin.
Storage
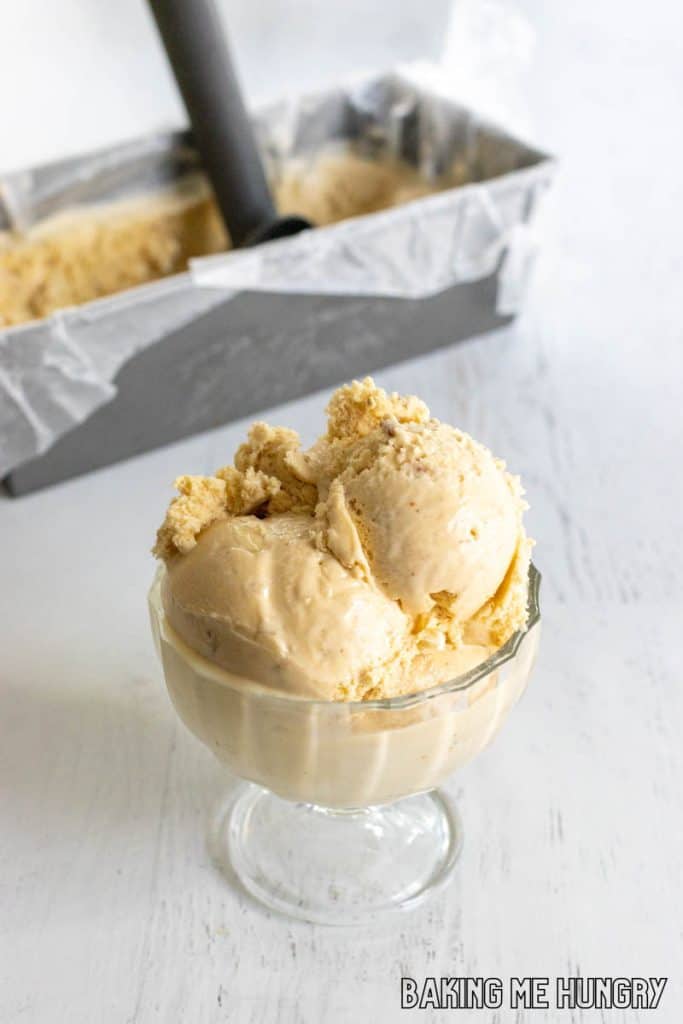
Transfer the churned ice cream to a freezer-safe, large lidded container and freeze for at least 4 hours or overnight for a firm, scoopable texture. If you prefer soft-serve consistency, you can enjoy it right after churning.
Keep the container tightly covered in the freezer to help prevent ice crystals from forming. For the best flavor and texture, I like to enjoy homemade ice cream within a couple of weeks.
Common Questions
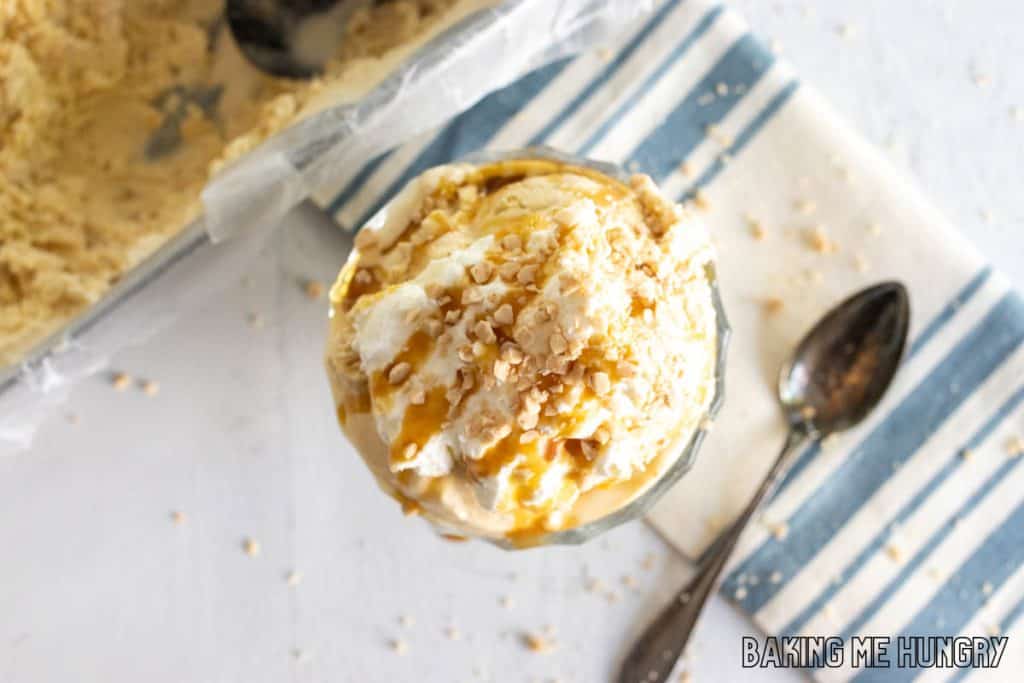
The sky is the limit. Add crushed chocolate cookies, chopped chocolate, toasted nuts, crushed caramel, or extra toffee bits. You can also drizzle caramel sauce over each scoop right before serving.
No, this ice cream recipe needs to have an ice cream machine to churn and get it to that rich and delicious creamy consistency.
Ice crystals can form if the ice cream freezes too slowly or is exposed to air during storage. Make sure your ice cream maker bowl is fully frozen before churning and transfer the finished ice cream to a tightly covered freezer-safe container.
For the best flavor and texture, I recommend enjoying it within about 2 weeks. It may last longer in the freezer, but homemade ice cream tends to develop ice crystals and lose some of its creamy texture over time.
Yes, but the texture and flavor won't be nearly as good. Keeping the ice cream tightly covered and minimizing the amount of air in the container will help prevent freezer burn.
Related
Looking for other recipes like this? Try these:
- Fruity Pebbles Ice Cream
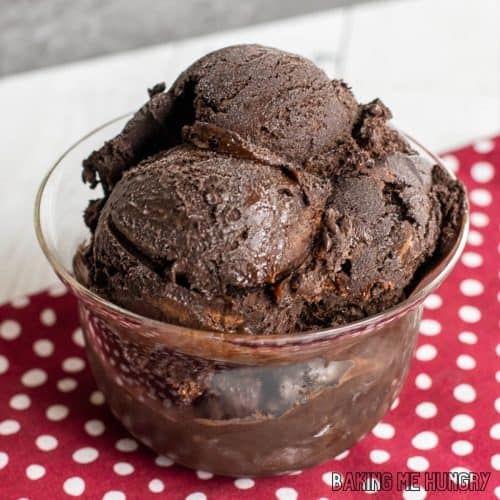
- Brownie Batter Ice Cream Recipe
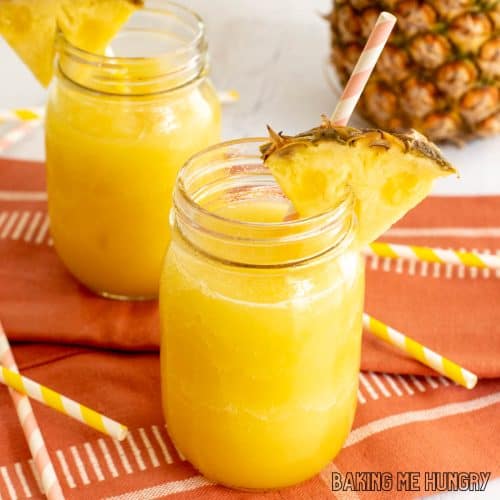
- Pineapple Slushy Recipe
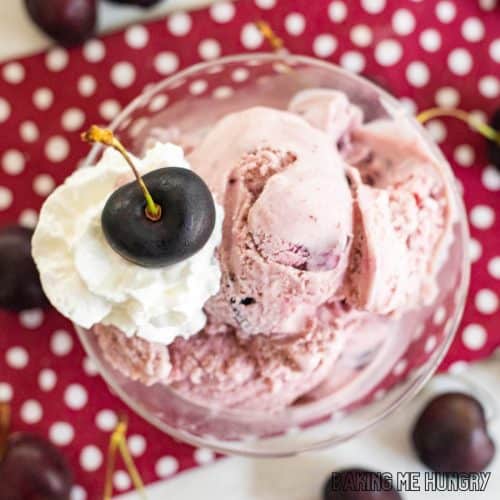
- Amaretto Cherry Ice Cream
📖 Recipe
Caramel Crunch Ice Cream
Equipment
- Ice Cream Maker
Ingredients
Ice Cream Base
- 1 ½ cups heavy cream
- 1 cup whole milk
- ½ cup caramel sauce
- ¼ cup brown sugar
- 3 egg yolks ***
- 1 teaspoon caramel extract
- 1 teaspoon vanilla extract
- ½ teaspoon sea salt
Mix-ins
- ½ cup toasted slivered almonds
- ½ cup toffee bits
Instructions
- Combine the ice cream base ingredients in a blender. Blend until smooth.
- Transfer to an ice cream maker and freeze according to the manufacturer's instructions.
- Add the mix-ins during the last two minutes of churning.
- Transfer to a freezer-safe container and freeze until firm.
Notes
Nutrition
Like what you see? Follow us on Facebook and Instagram! Love this recipe? Leave a comment & a 5-star rating right here! Make sure you don’t miss new recipes by getting email updates!

Comments
No Comments